

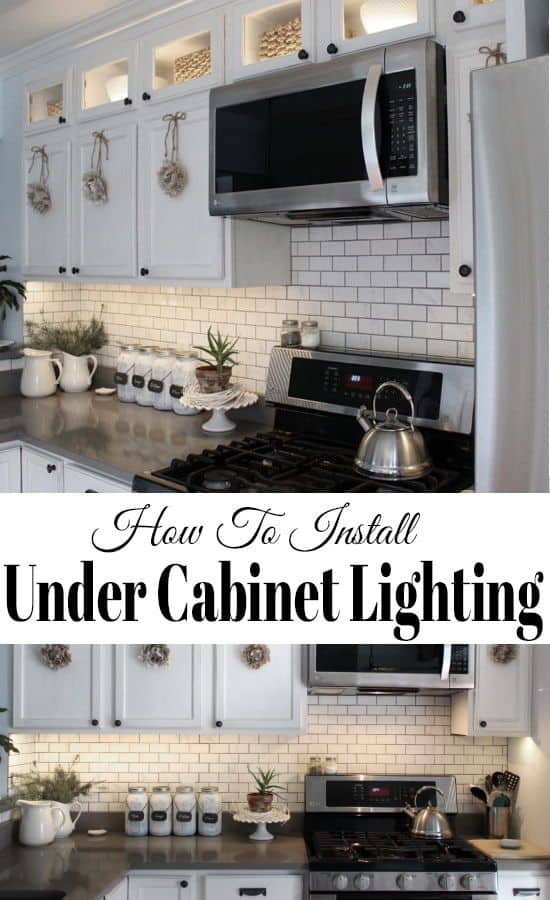
How To Install Interior Cabinet Lighting
Last year when we did our kitchen makeover, 1 detail on the to-do list was installing cabinet lighting in both the new upper cabinets and under the existing lowers. Nosotros finally just got effectually to finishing upwards that projection recently (things have time around here!) and what a difference information technology makes! It's really pretty easy to practise also!
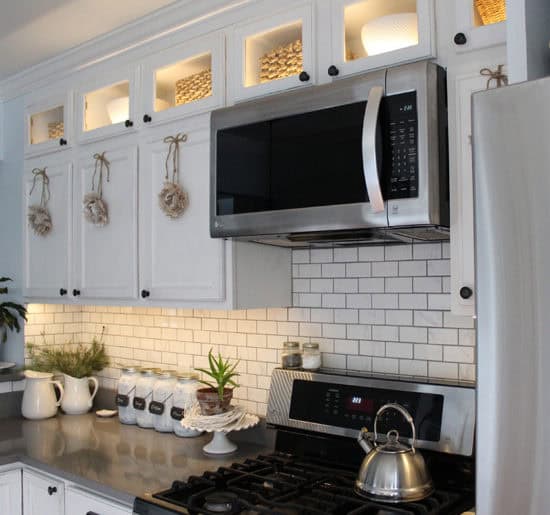
I worked with Lamps Plus* on the lighting for my kitchen. In addition to these amazing pendant lights, we also ordered these LED tape lights for the chiffonier lighting.

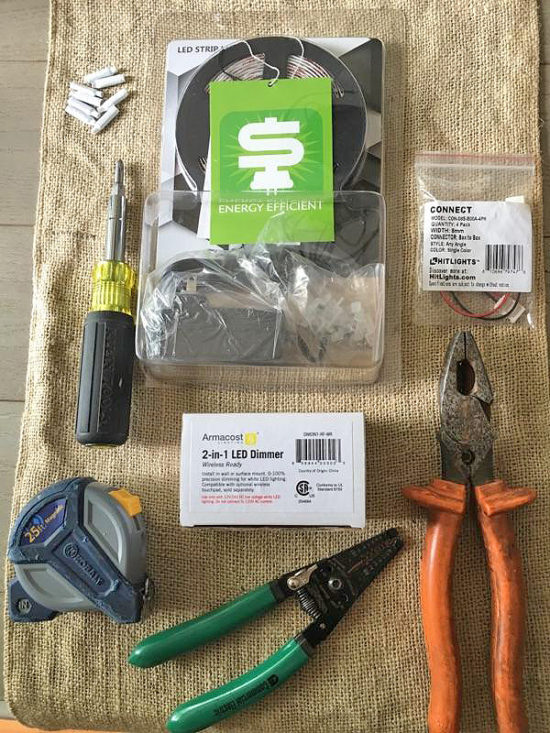
What Y'all Volition Demand For Kitchen Cabinet Lighting:
LED Lighting Kit
Wire to Strip Connectors
B Wire connectors (referred to as "chicklet connectors"
Wireless Remote 2 in 1 Dimmer
Drill
Correct Angle Drill Chip Attachment
three/*viii″ Speed Diameter Drill Bit
Wire Stripper
One thing to keep in listen with this projection is yous volition need an outlet in the area. When we added our upper cabinets, my husband installed an outlet for the microwave. Also note, my hubby is very experienced with electrical piece of work, and though this is relatively easy and low voltage if you're non at all experienced with electrical, you may want to rent someone for this. (Read my full disclosure here)
Step 1- Plan the path for your under chiffonier lighting.
First, we measured the length of lighting we needed for the under cabinet lighting. We cut one strip for the cabinets to the left of the microwave and ane for the cabinet on the right. Be certain to follow the directions on the lighting on where to cut. We also cut sections for each of the upper cabinets.

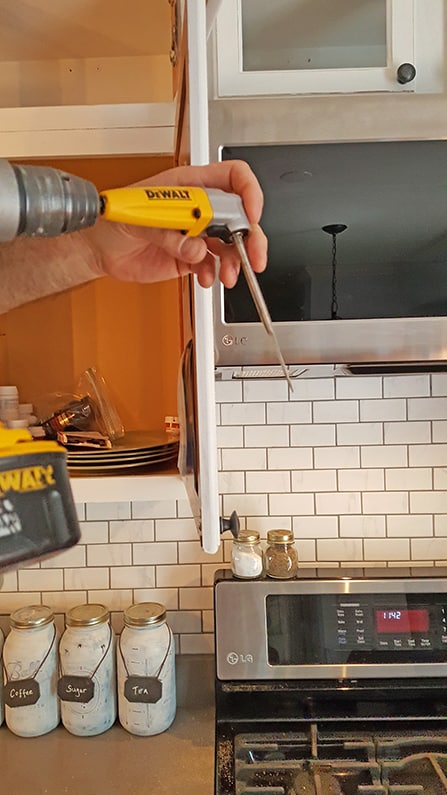
Step 2 – Drill holes where y'all need to run the lighting.
Our outlet is in the upper cabinets and so we started with those. We drilled a small hole in between each cabinet department. The goal was to connect our upper and lower kitchen cabinet lighting then that they would all be on the aforementioned circuit. In order to connect the upper lights to the lowers nosotros as well drilled holes in the cabinets on either side of the microwave in order to run this wire from top to lesser.
Footstep three- Add connectors.
The side by side step is to connect all of the lighting together. Add the wired connectors to the tape lighting past merely sliding them into where the metal contacts meet the tape lights.

Footstep four – Splice the wires.
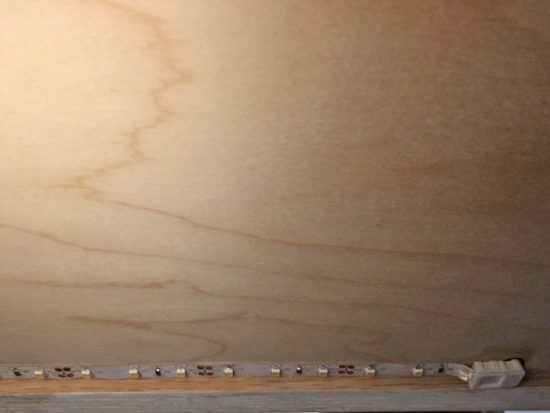
Assemble the lighting in the cabinets and and so splice the 18/2 gauge wire and attach each section as shown below. Apply the wire strippers to strip nearly one/4″ of the wire to expose the copper leads.

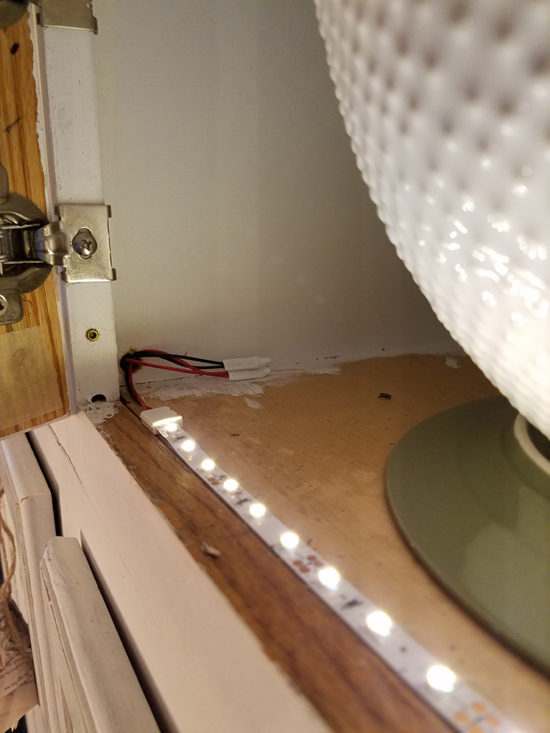
My husband besides used a T25 staple gun to secure the wiring into the corners to keep them neatly in place. These lights have a sticky backing, y'all just peel off the paper and stick them into identify.
However, if your cabinets are older or dusty you may want to only wipe them downwards with some rubbing alcohol first so information technology adheres amend. Here is how they look in the uppers. (Clearly, I never finished painting the within of my cabinets during the one room challenge).
Are you still with me here? Good.
This is how they look under the lower cabinets.
Most chiefly (to me anyhow) nosotros picked upward a wireless remote to turn our lights on and off, which is really awesome. I would probably never employ them if I had to climb upward on a footstep stool to turn them on. The remote, the wire and the connectors were all purchased separately from the lighting kit.
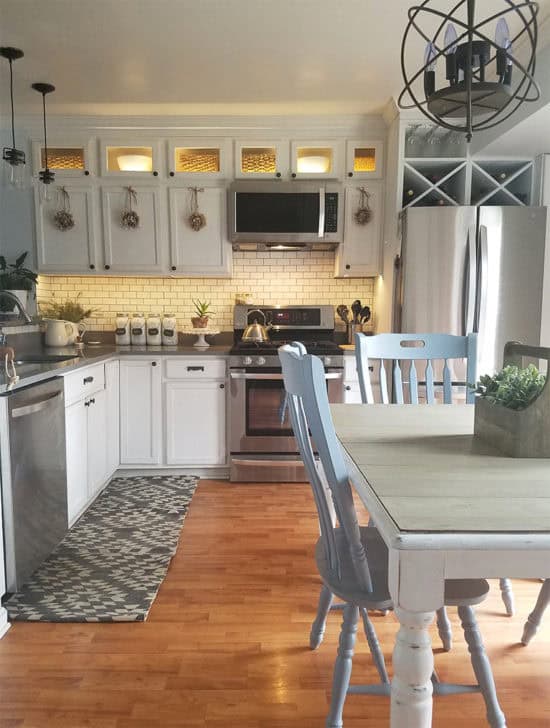
I've been asked a lot about the small wreaths on the cabinet doors, those were a uncomplicated DIY project. You tin can also see how we extended our cabinets to the ceiling which made a big bear upon in our kitchen. Information technology's really makes our small kitchen feel a bit larger.
In addition, we replaced the flooring downstairs since these photos were taken, using another trick I learned to brand a room look bigger.
Thanks again to Lamps Plus for sponsoring my kitchen lighting!

Please Pivot:
This mail service was sponsored past Lamps Plus and may contain affiliate links, you can read my full disclosure hither.

Source: https://thehoneycombhome.com/how-to-install-cabinet-lighting/
Posted by: ellispowee1981.blogspot.com
0 Response to "How To Install Interior Cabinet Lighting"
Post a Comment